New User Training
Choose from either Video Training or Written Training
Click the Log In button at the top of the page, then click Lite User Log In.
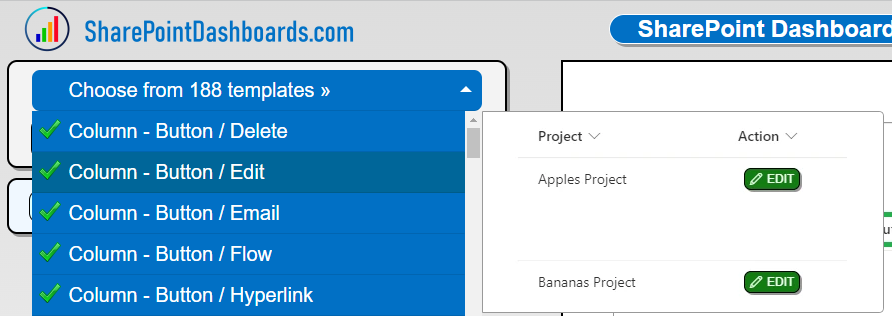
Next select the Column - Button / Edit template.
On the home page of your SharePoint site:
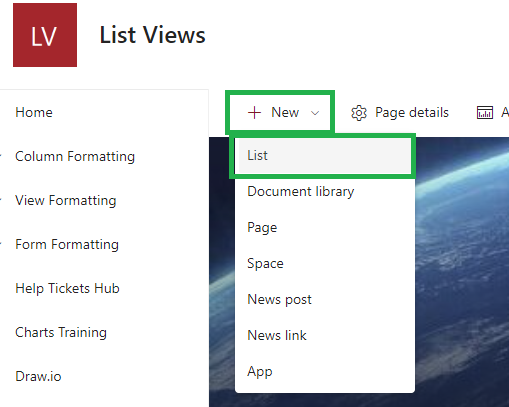
Click the + New button, then click List.
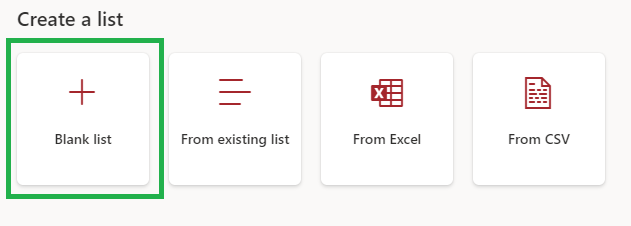
Next select Blank list.
Enter Dashboard Training then click Create.

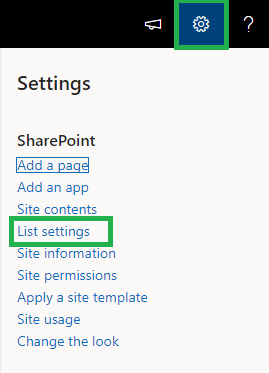
In the upper right click on the gear icon then List settings.
Next click Create column.
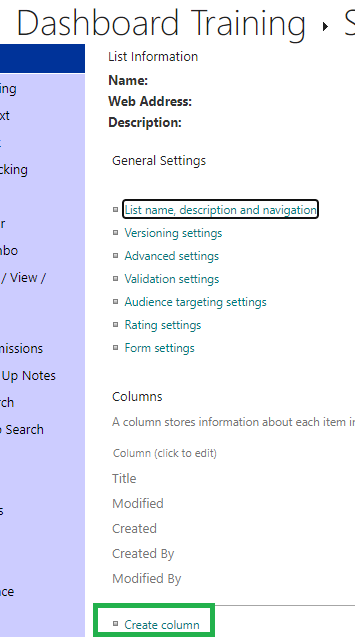
Use the Column name Form, select Calculated for column type and enter this Formula:
="Edit"
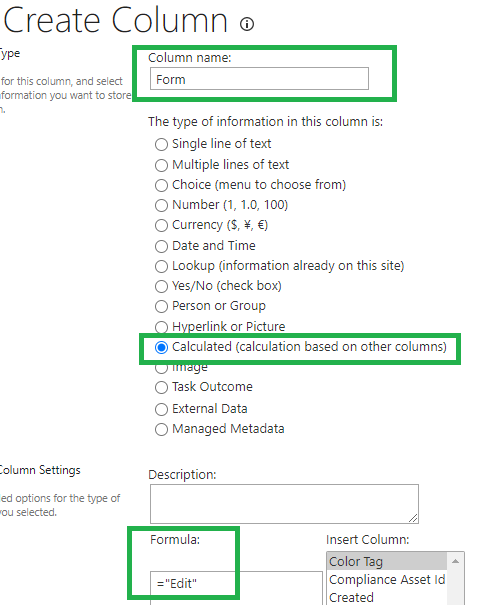
Click OK.
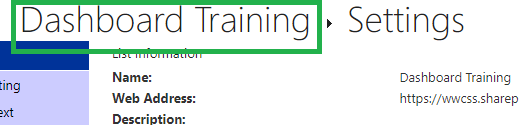
Click on your list name Dashboard Training at the top of the page to return to the list view.
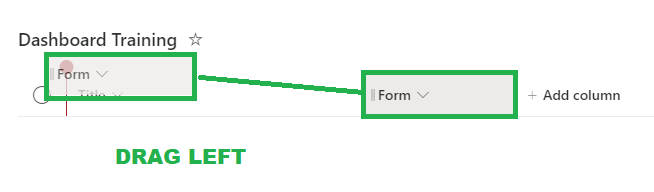
Drag the new Form field to the left to make it the first column.
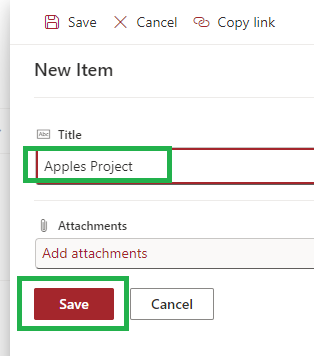
Click the + New button to create a new dummy record with the Title of "Apples Project" then click Save.
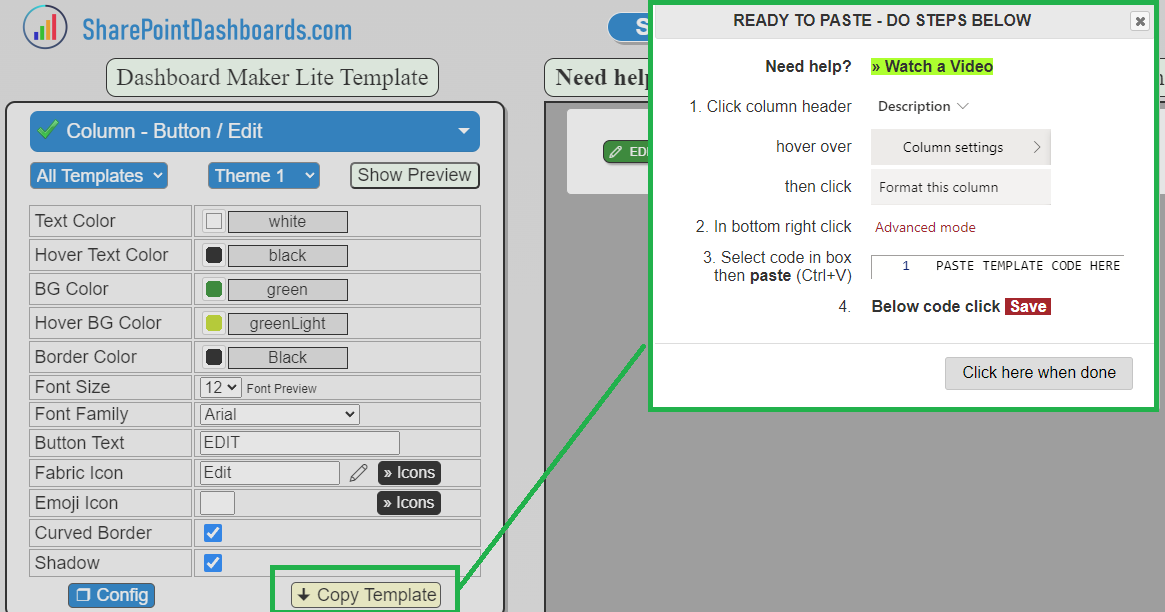
Switch browser tabs to your SharePoint Dashboards site with the Column - Button / Edit template pulled up.
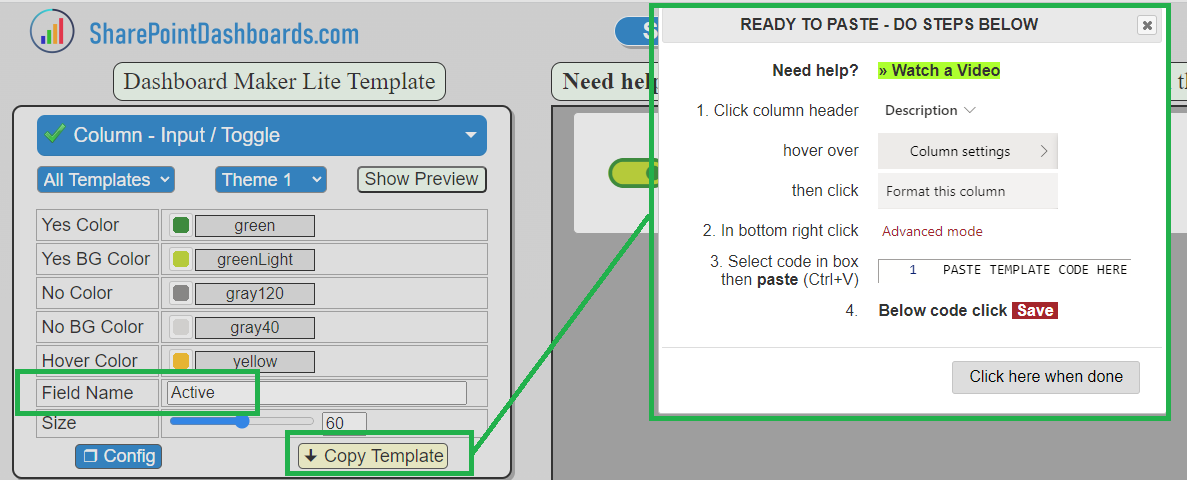
Click the Copy Template button and review the instructions in the pop up dialog.
Switch back to your SharePoint browser tab.
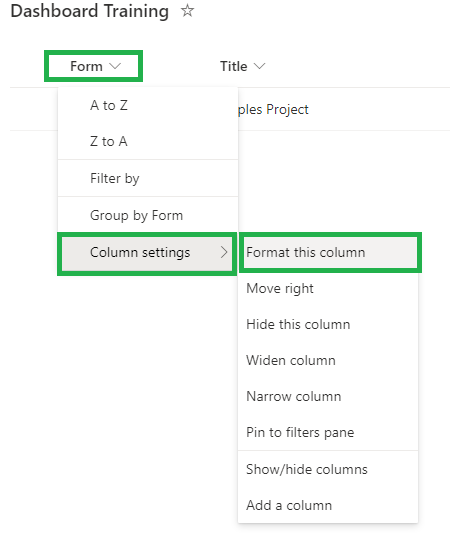
Click the Form column header, click Column settings then click Format this column.
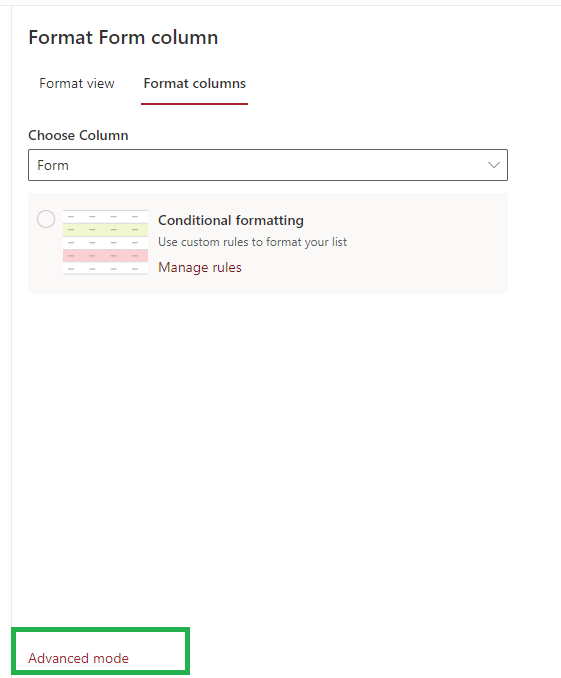
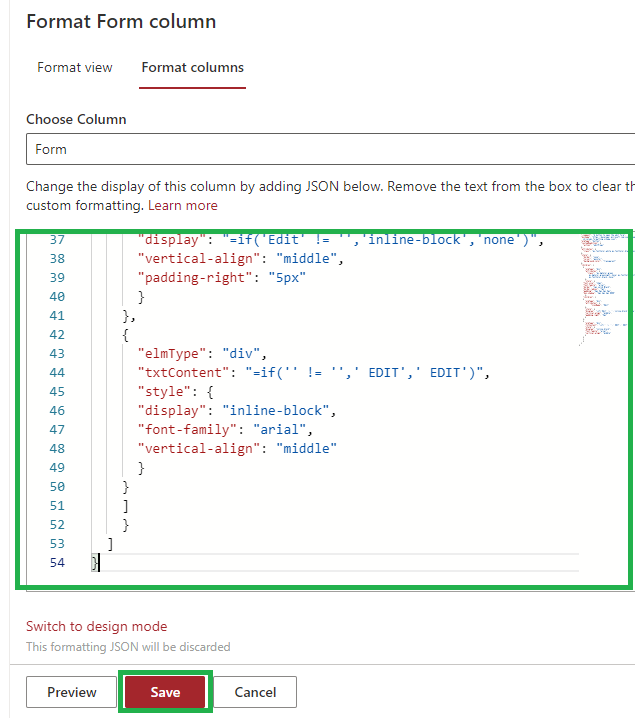
Click Advanced mode.
Click Delete the existing code in the box then paste the code from SharePoint Dashboards then click Save.
You have just applied your first template - congrats!
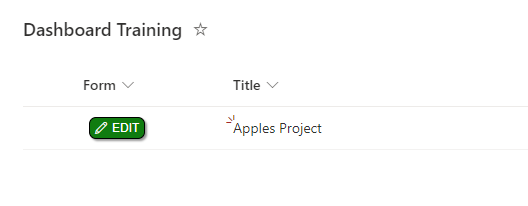
Click on the new Edit Button to confirm that it opens the Edit form side panel.
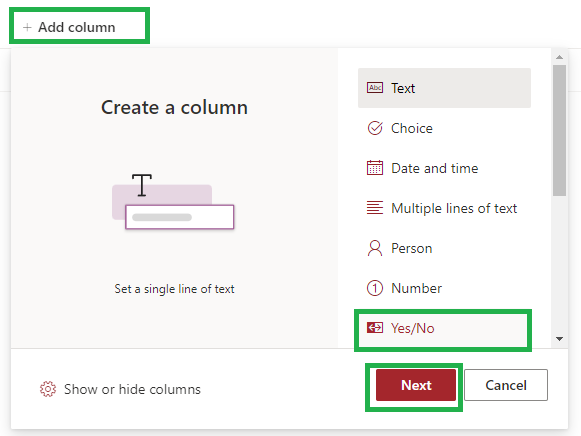
In the list view screen in the column header, click + Add column, click Yes/No, then click Next.
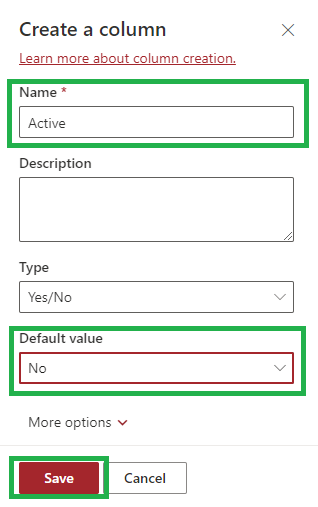
For the column Name enter Active, set the Default value to No then click Save.
Switch your browser tab back to SharePoint Dashboards, then select the next template Column - Input / Toggle.

Enter the Field Name which is the column we created called Active then click the Copy Template button.
Use the same steps as done above with the Edit Button to apply the Toggle Button template.
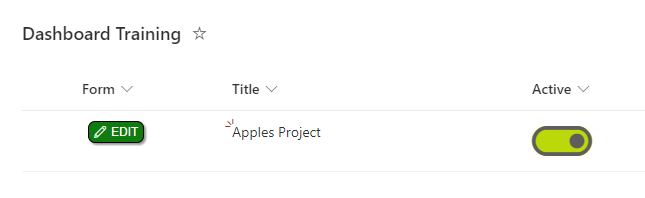
Click on the button a few times to toggle the value and confirm that it works!
Switch your browser tab back to SharePoint Dashboards, then select the next template Column - Input / Inline Edit.
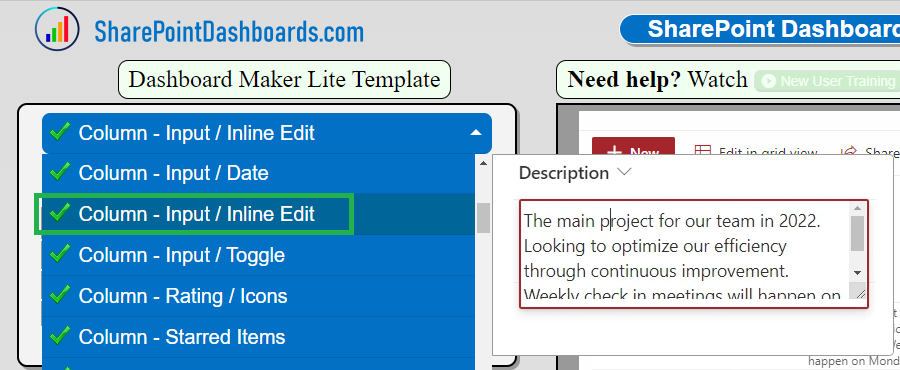
Set the Hover Color to LimeGreen and make sure the Field Type is set to Text then click the Copy Template button.
Follow the same steps as before to apply the template to the Title field.
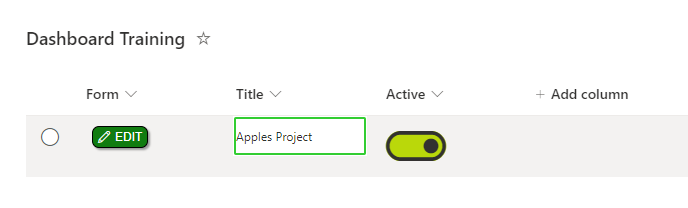
Test out the functionality by clicking on the Title field and entering a new value.
Before applying the next template we need some more dummy records.
Add more records until you have at least five records in your SharePoint list.
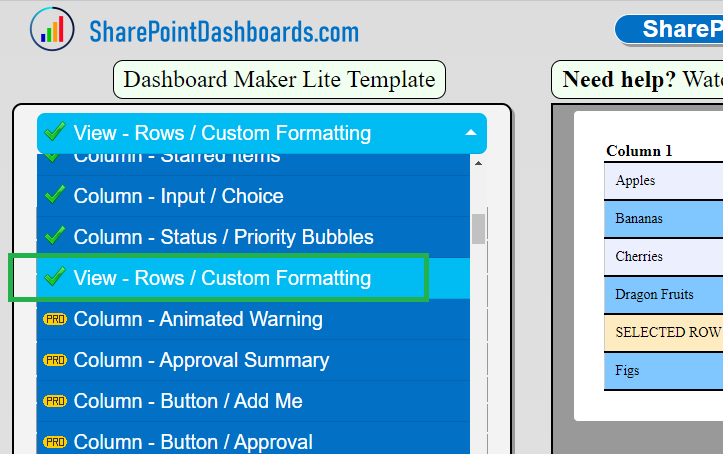
Switch your browser tab back to SharePoint Dashboards, then select the next template View - Rows / Custom Formatting.
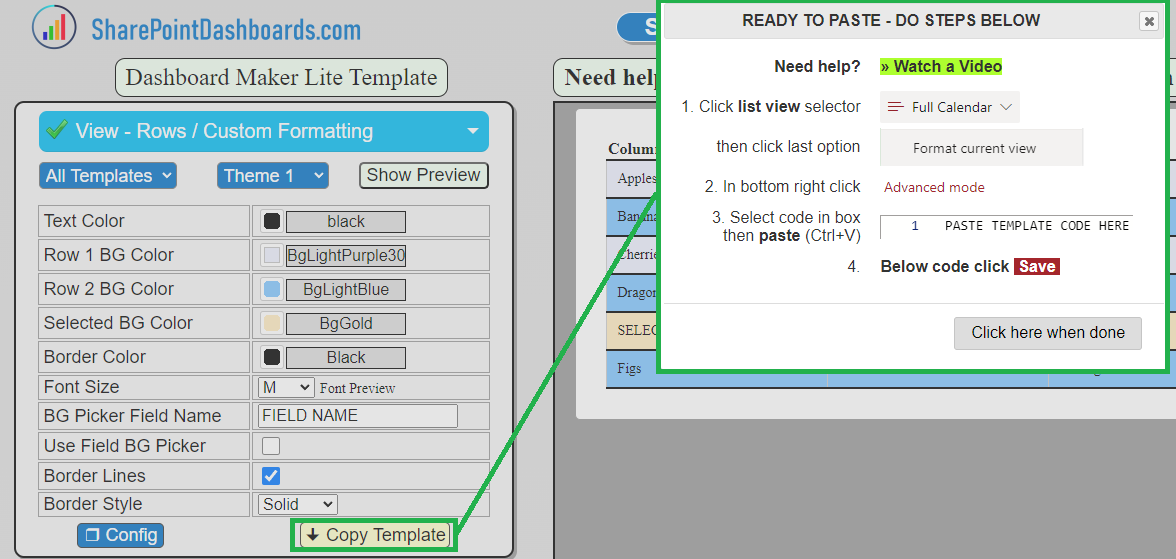
Once you have applied your preferred colors and settings, click the Copy Template button.
Note that we are applying a VIEW TEMPLATE which has slightly different steps.
In SharePoint, click on the view selector, then click on Format current view.
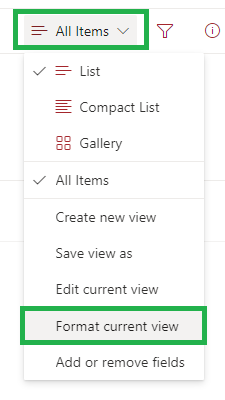
From here, use the same steps as used in column formatting to apply your template.
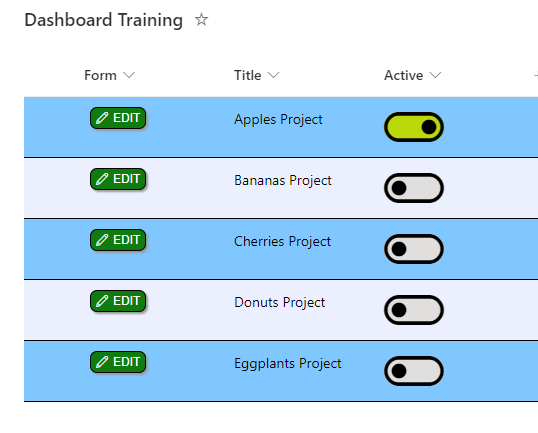
Now you will see your list with both column formatting and list view formatting applied.
If you completed these steps, you are ready to take advantage of 17 more free SharePoint Dashboards templates. Continue your training by practicing with all of the other templates using whichever configuration options you like.
Note that every template has a Video Tutorial which you can access by clicking on the button in the Notes section in the lower left.
If you want more advanced training, we also provide SharePoint Charts Complete Training available to subscription customers using our 25 different charting templates.
If you become a paid subscriber, you will have hundreds of templates to choose from. Good luck!